How to: Make a Mojo or Medicine Bag
Share
Video
A Mojo Bag is a powerful tool in the magic of Hoodoo. One of the most potent and simple methods for connecting with our magical guides is to carry a well-prepared mojo bag. It is widely believed that mojo bags are the man-made manifestation of a spiritual being and that they contain life-like properties.[5]
The word is thought by some to be a corruption of the English word "magic." Others state that it is related to the West African word "mojuba," meaning a prayer of praise and homage, as itis a "prayer in a bag" -- a spell you can carry. A third possible derivation is from the Bantu / Kongo word "mooyoo," the magically-charged ashes and ground up bones of an ancestor that are encased in the front of a nkisi ndoki -- a fetish-statue made in the form of a human being or animal. This connection with the bones of the dead is interesting, because historically, many mojo hands have indeed contained small bones, either of animals or of humans.[4]
While a mojo bag is the staple talisman in the Hoodoo tradition, it appears in other magickal traditions as well. It is characterized as a flannel bag, usually red in color, containing one or more magickal items. Although most mojo bags are made of red flannel, some magickal practitioners prefer the color symbolism associated with candle magick and will match the color of the mojo bag to their goal. Other names for these charms include gris gris, nation sack, mojo hand, toby and conjure bag. The practice is most commonly attributed to Hoodoo and Rootwork, but has also gained much popularity in modern Shamanic and New Age groups.[5]
Although most Southern-style conjure bags are made of red flannel material, most seasoned conjurers use color symbolism. This practice embodies itself in the practice of hoodoo, in which green flannel is used for a money mojo, white flannel is used for a baby-blessing mojo, red flannel is used for love mojo, and so on. West Indians also use mojo bags but often use leather instead of flannel.
The contents of each bag vary directly with the aim of the conjurer. For example, a mojo carried for love-drawing will contain different ingredients than one for gambling luck or magical protection. Ingredients can include roots, herbs, animal parts, minerals, coins, crystals, good luck tokens, and carved amulets. The more personalized objects are used to add extra power because of their symbolic value.[6]
Additionally, a Medicine bag is a traditional Native American bag or pouch usually worn around the neck that contains items that the wearer considers holy, sacred, or important to him or her and thus containing super natural powers for the wearer. These items were traditionally obtained through a vision quest the wearer would undertake away from the tribe that consisted of prayer and hardships such as fasting for a period of time, and sometimes after taking hallucinogens.
There were two very basic styles of American Indian bags: soft pouches, made of tanned animal hides (usually deerskin or elkskin), and parfleche, made of stiff rawhide.
The purpose of the medicine bag is to hold items that contain personal power for the wearer or that strengthen the connection with The Spirit for guidance or personal growth, and are sometimes symbolic towards certain attributes and goals the wear wishes to ascribe, such as healing allies, aiding fighting skills, aiding hunting abilities, protection from enemies, hindering enemies and even altering the weather to more favorable conditions.[2]
Today, non Native Americans also use Medicine Bags. They are symbols connected to personal protection and power. Some wear a small medicine bag around the neck, under the clothing, or on a belt or saddle or carry it in a purse, pocket, knapsack or briefcase. Some people sleep with their medicine bags under their pillows.[1]
A medicine bag usually held many kinds of herbs, stones and other items used for his healing rituals. A personal medicine bag, carried by most Native American men, was not for healing others but it was used to maintain personal harmony with the physical, spiritual, and supernatural. A youth might have a small medicine bag, but as he added life experiences, he also added objects to his bag over the years. In time, he often needed to replace the bag with a larger one.[3]
Here, for example, I might put in maybe a small picture of my daughter, some of my plant-allies such as, yarrow, plantain, and nettles, for use when needed, and maybe some extra money for emergency phone call or bus-fare. It's up to you what you put in yours.
Here are items that can be put into your medicine bag from the 4-Kindoms:
Plant Kingdom
- Sage
- Sweetgrass
- The Three Sisters: Corn, Bean, and Squash Seeds
- Flowers
Animal Kingdom
- Lock of hair, mane or tail
- Bone
- Feather
- Claw
- Tooth
Mineral Kingdom
- Stone fetish
- Piece of stone such as turquoise or lapis
- Gem
- Crystal
Man's World
- Key
- Photo
- Coin
- Microchip
- Bullet
Essentially, I make and use mine as an agnostic talisman. Although I try to be aware of, and I am appreciative of where the styles and the way I choose to "fix" them come from. I believe it is vitally important be respectful to these cultures by doing your own research and soul-searching if you choose to construct a talisman from either African or Native American origin(s). I have included cited sources below as a start.
Cited Sources:
- https://www.horsekeeping.com/medicinebags/about-medicinebags.htm
- http://www.thewildwest.org/nativeamericans/nativeamericansociety/27-nativeamericanmedicinebag
- .https://en.wikipedia.org/wiki/Medicine_bag
- http://www.luckymojo.com/mojo.html
- .https://www.originalbotanica.com/blog/mojo-bags-conjure-toby-gris-gris/
- https://en.wikipedia.org/wiki/Mojo_(African-American_culture)
FREE pattern download here >>
Instructions
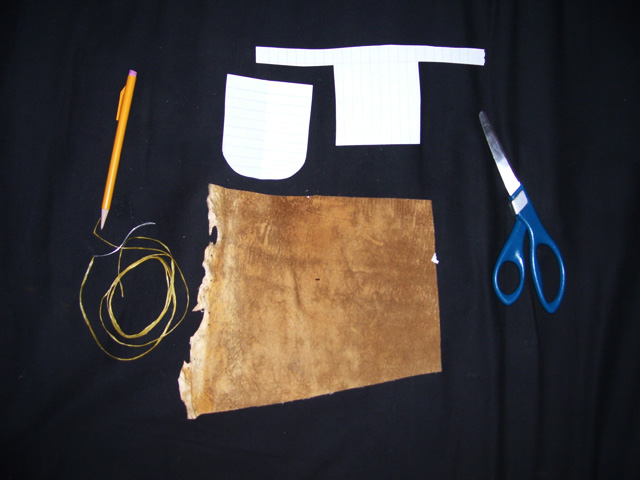
1). You will need:
- Buck-skin, leather, or material of your choice
- Paper to make a pattern, or you can eyeball it
- Drawing utensil
- Awl & needle (leather needle shown here)
- Cordage for thread (waxed nylon [artificial sinew] shown here)
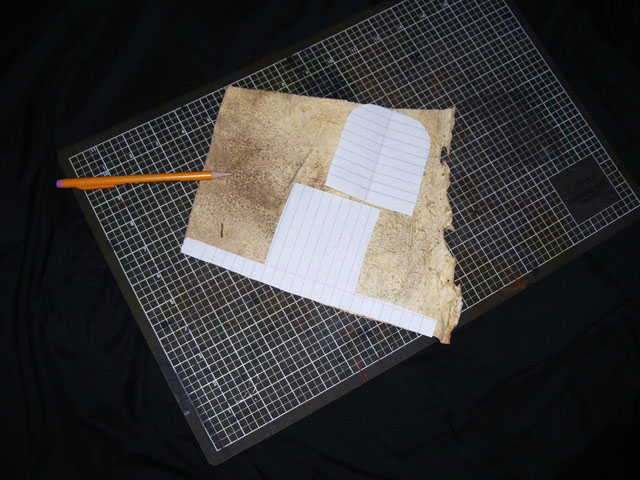
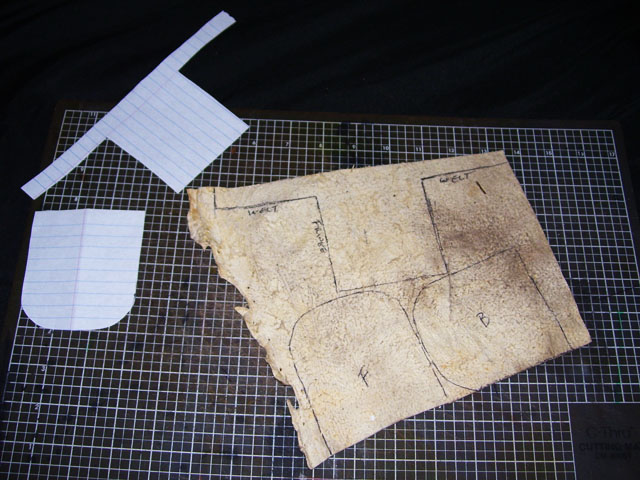
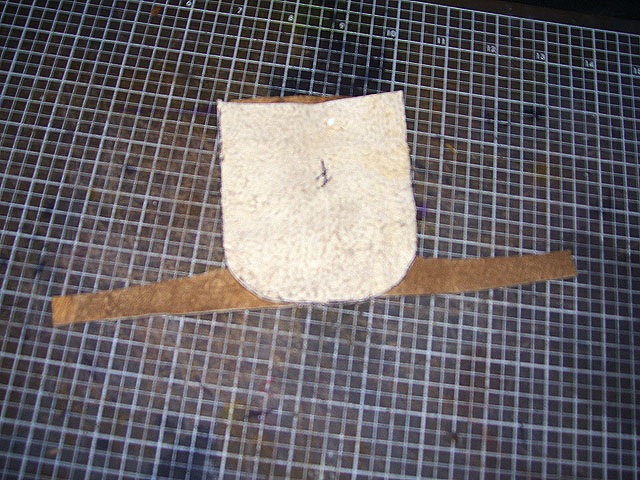
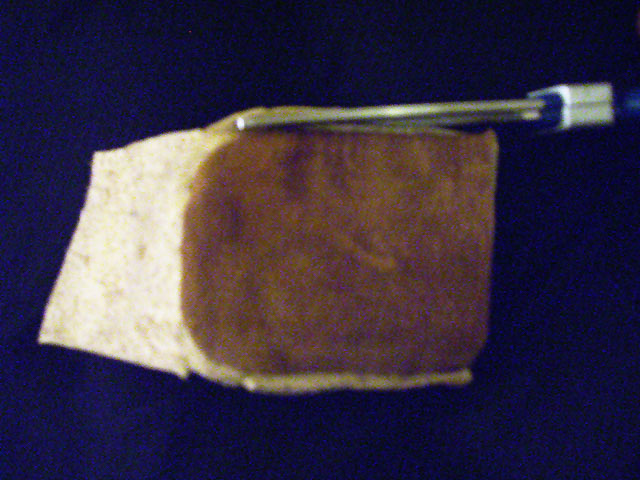
2). Layout pattern on wrong-side of material, and trace. You will need one “T” for the welt and fringe, and two “U”-shapes for the front and the back of the pouch pieces
3). Sometimes you have to layout pattern in different ways if you have limited material. Be sure to label your pieces. Here I marked one “u”-shape “F” for FRONT and the other “B” for BACK on the pouch pieces
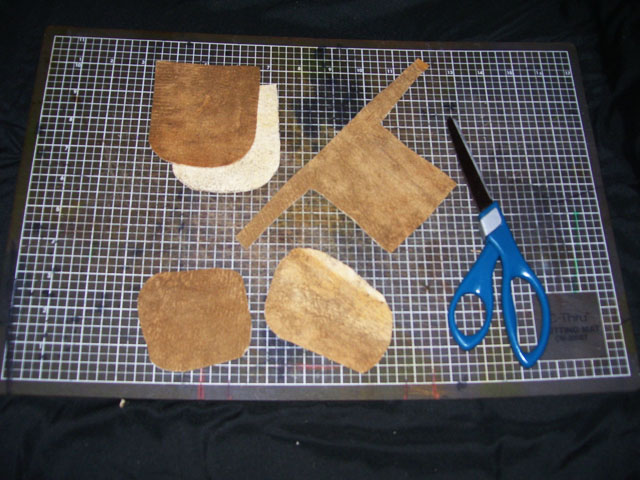
4). Cut out your pieces. Be sure to utilize or save any extra material. Here I will be using the two round pieces to make cordage for thong other embellishments.
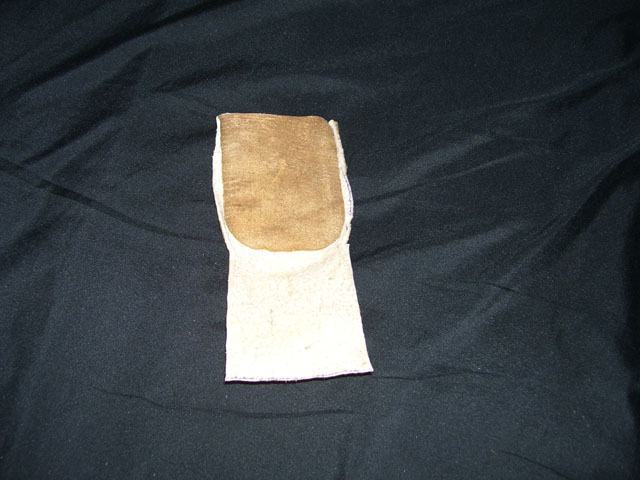
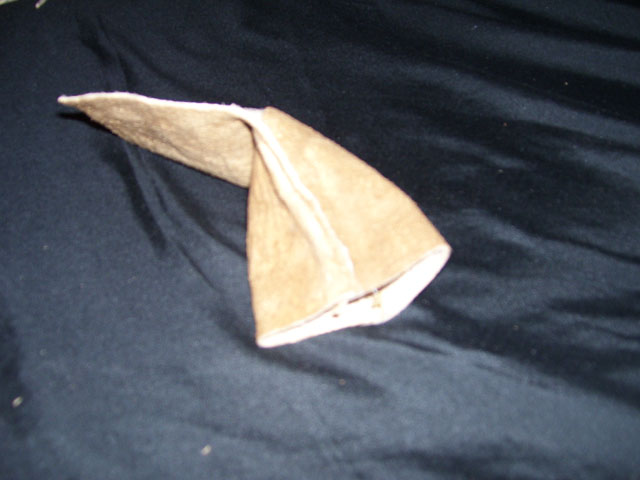
5). Lay back piece WRONG-SIDE DOWN, then welt and tassels WRONG-SIDE DOWN on top of it. Then lay the front part WORNG-SIDE UP on top of both. Be sure to match the side and bottom edges.
Note: The tassel bottom lays in the direction of the pouch tops
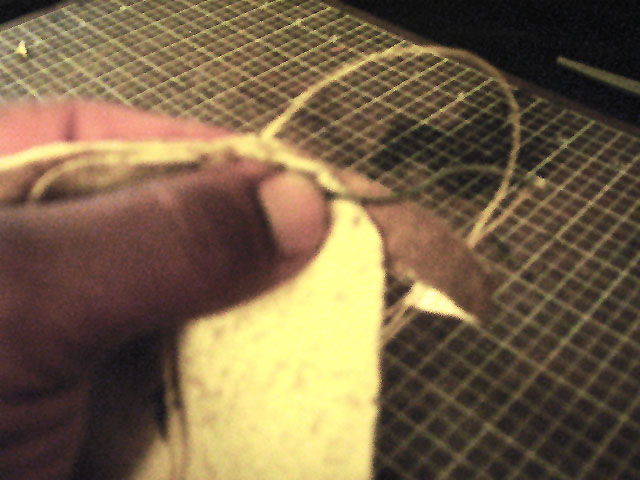
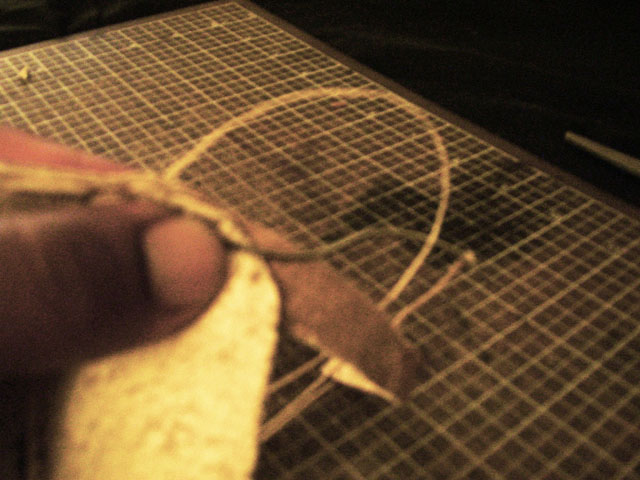
6). Begin to sew using a whip-stitch from the middle of the bottom of the pouch, stitching through all three pieces. Be sure to run thread half-way through; we will sew up one side, take out the needle, then sew up the other with the remaining length
7). Pinch the material together and be sure all three edges line up.
Warning: Be sure to NOTE sew tassel part to front and back pouch pieces. Sometimes it helps to fold the tassel part to keep from that happening.
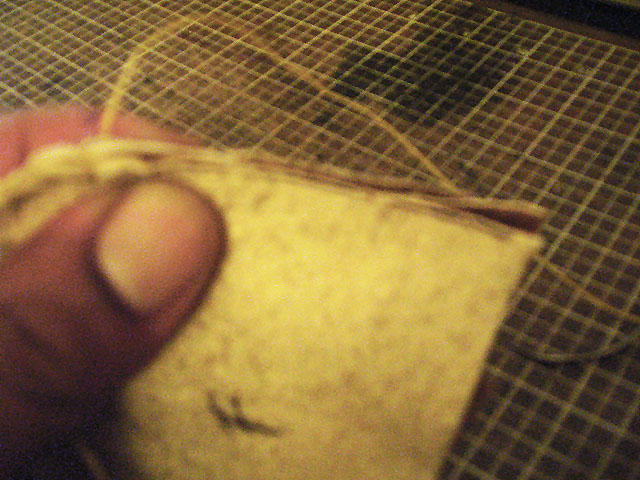
8). Continue to whip-stitch all the way to the top of one side of the pouch.
9). Note how here, one side is stitched up to the top, then knotted off. Then remove the needle from the thread on the right, and re-thread it with the length of thread on the left, and continue to sew up the left side of the pouch in the same manner as the right.
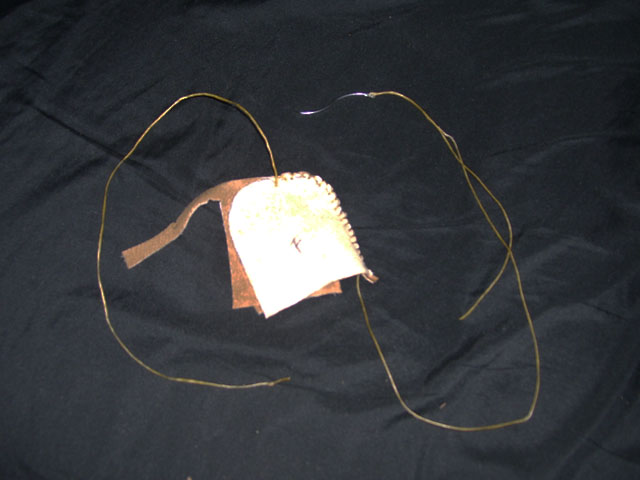
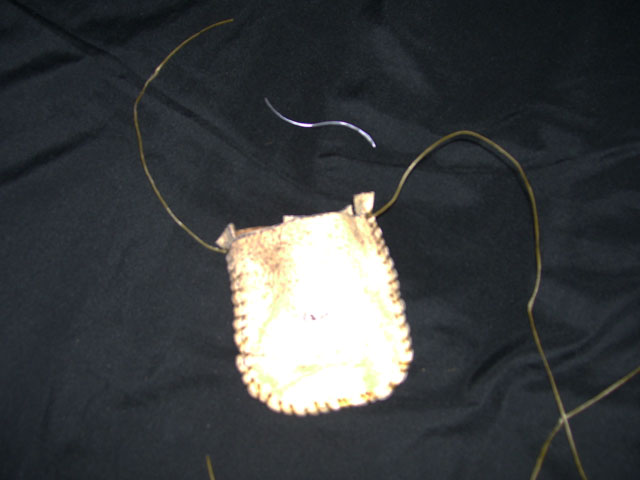
10). This is how it should look once sewing is complete.
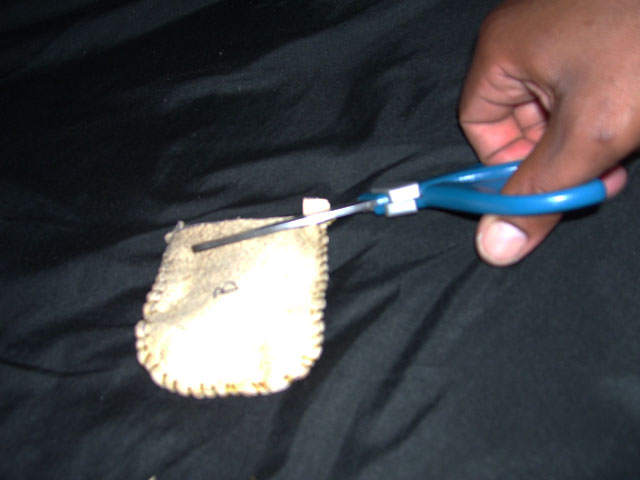
11). Trim any extra welting at the top of the pouch as well as excess thread.
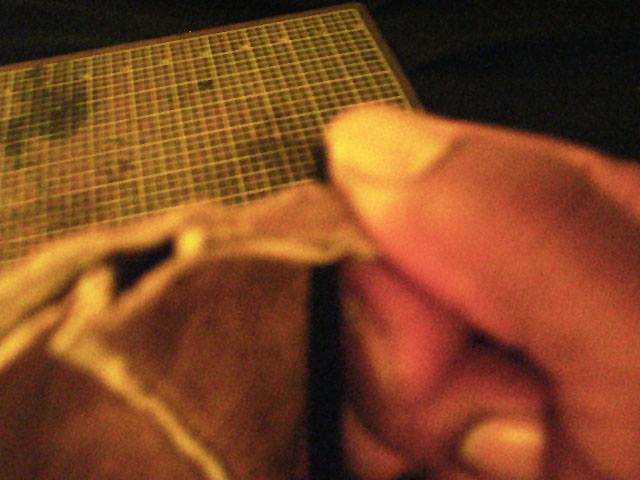
12). Now turn bag right-side out. Using your fingers, work the bag and tassel in to shape by gently pulling and pushing until it is completely right-side out.
13). Trim excess welting, be sure to NOT cut the front or back side of the bag in the process.
14). Match the side seams together…
15). Using a needle, or awl poke holes through the pinched front and back sides. Repeat the same on the seam sides. There should be a total of 8 holes – 2 in front, 2 in back, 1 on either side of the seams; so 2 on the left, and 2 holes on the right.
You can widen the holes using a thicker awl…here I am using a chopstick.
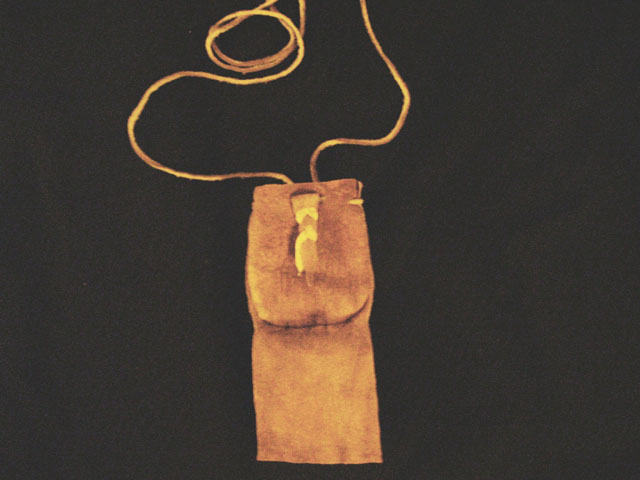
16). Thread your thong from the front through the holes. Here I have added an optional embellishment that has been threaded through by the thong as well. Now you can carefully cut the tassels.
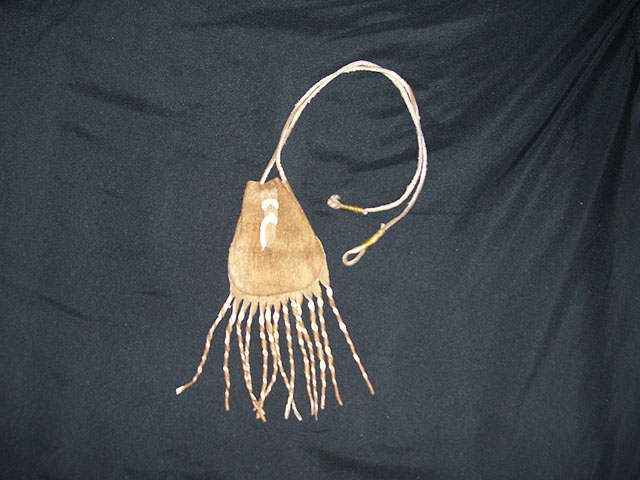
17). The finished bag with tassels cut and twisted for an additional touch. You can do this by wetting the tassels then twisting with your fingers, so they become little spirals
top↟
