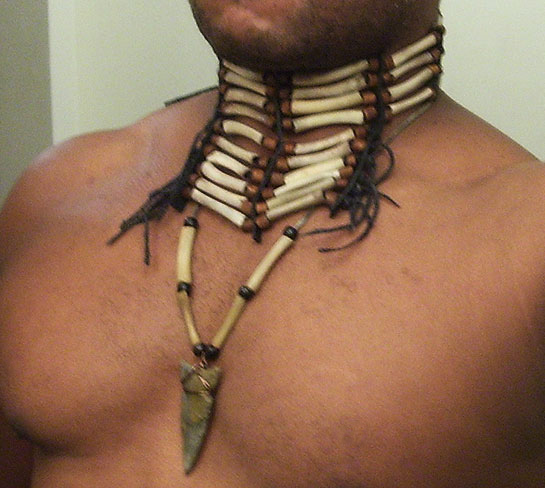
How to: Make a Bone Choker
Share
I believe in using the whole animal when it is harvested. The bones, hooves, and teeth of many animals can be used to make tools and jewelry. I had a lot of chicken bones that I decided to use to make something decorative out of...namely a necklace.
I generally use bird bones to embellish some of my jewelry projects thus far, but this time since I had so many I decided to go all out and make a choker necklace. This project is obviously inspired by Native-American style and my own ancestral Native heritage to pay homage to current Aboriginal cultures and contributions.
I feel it is important to give some background and history on Native-American style chokers. Below is a citation from Ms. Paula Bidwell a Native-American artist and healer.
"Bone chokers originally were made from bird legs. They were seldom used as just ornamentation. They were used as physical protection for the throat from a possible knife attack. The jugular vein is in the neck and is lethal if cut. They were also used in conjunction with physical protection as a spiritual protection for the voice. Because most birds are noted for the sounds they make or for their singing quality. The spirit of the bird could be invoked to protect the personís voice from ailments, jealousy or fatigue.There is also a cultural saying for men Ė ďYou become a man when you can speak your heart to the people - clearly and without fear - honor, bravery and victory are yours.Ē
The bird was not always killed to make the chokers. Most often they were found after a predatory animal had already killed them or they had died a natural death. This was considered a good sign when found. Not only for the people who needed the chokers but for the bird, so itís life would be of honor, value and service. In all instances every part of every animal was used. Nothing was thrown away. This is done out of respect for the sacrifice the animal made and to honor itís life.
In some cases, the leg bone of a specific bird was needed. Prayers were made to the bird(usually an eagle, hawk or owl). The hunter would fast and pray sometimes for days on end.He would wait until the bird came to him. A typical story of this sort of thing, is the bird came to the hunter and landed right in from of him and sat without moving until the hunter took itís life. They say that while the bird sits in front of the hunter. They converse with their hearts. The bird has to willingly and happily give itís life for the purpose needed or the hunter will not kill it. Among the people, giving of life so that others may live is the ultimate ending to our existence on the earth.
Bone chokers made from the bones of birdís legs were practical. They already had a hole through the center where the marrow was. They were already cylindrical and only a little smoothing and shaping was needed. The leg bones were cleaned and smoothed and shaped by boiling them until softened. Flint was used to trim any irregularities and a smooth stone was used to shine and smooth the surface. Beads were smaller bones, which had been sliced or cut. These bones were sometimes colored with a variety of minerals; most common was red earth (vermillion). The red earth was mixed with fat and then rubbed repeatedly over the bone while the bone was still soft from boiling. To preserve the color they were regularly rubbed with fat to create a shiny coating. This also kept the bones from becoming brittle.
Real sinew from the leg of a deer or buffalo was used to thread the bones and beads. Deer or buffalo sinew was chosen because the strips of sinew were longer than other animals.Before needles a bone awl was used to punch holes in the hide spacers for threading the sinew.
Each bone choker had very special and personal meaning for the wearer. Many times they were dreamed prior to their making. It was seldom that the wearer would make their own choker.There were specific people in the tribe that did this. Many times they were assistants to a medicine person or a medicine person themselves. On the occasion that the wearer made their own choker it was usually because they dreamed it this way. Although, much help and assistance was given to the dreamer while making the choker.
Today it is much the same. You can see all kinds of chokers with symbols and specific colors for the wearer. Wolf, bear and eagle are very common. Purchasing a choker isnít any different from the traditional way of compensation. Which would be supplying the maker with a blanket, a horse, food, etc. Any thing that is necessary to maintain life was appropriate payment. So, today we have money..."[1]
Citation:
1). The History of Native American Bone Chokers:
What they were used for Ė How they were made Ė What they were made of by Paula Bidwell Native Talisman Art - artist and indigenous healer. >>
http://fineartamerica.com/blogs/the-history-of-native-american-bone-chokers.html
2). Native Chokers
http://www.native-net.org/na/native-american-chokers.html
Instructions
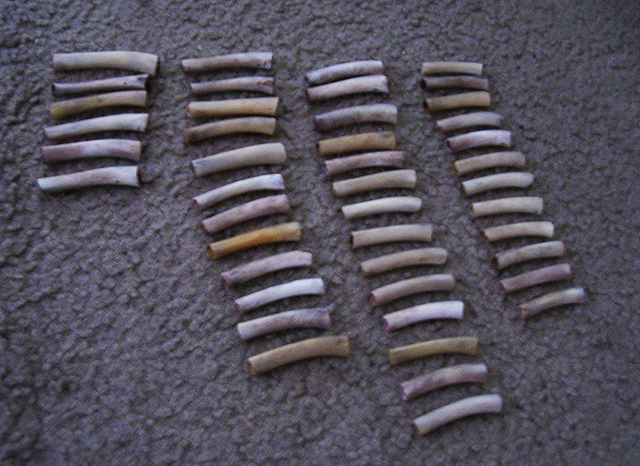
1). Prep the bones by boiling in water for about an hour and carefully scrubbing off any cartilage, meat, or tendon. Then cut with a stone tool or small hand-saw, the ends of the ulna off. Next ream a pipe cleaner to clear out the marrow to render the bone cleaned and hollow. Once cleaned and and dry using sandstone or sandpaper sand to shape and/or round coners.
For my size choker gather at least 34 ulna bones from bird wing, here is chicken.
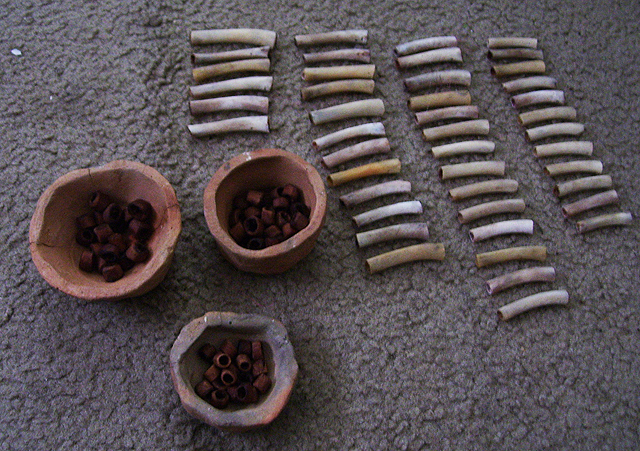
2). Next you will need to gather and cut at least 68 "pony beads" made from the humerus of the bird wing. Here they are pictured in clay cups and have been dyed with black walnut.
Clean and prep the same as the ulna bones. If you choose to dye, let sit in black-walnut solution up to overnight or 8 hours for a rich dark color. A few hours is all that is needed for a light tint.
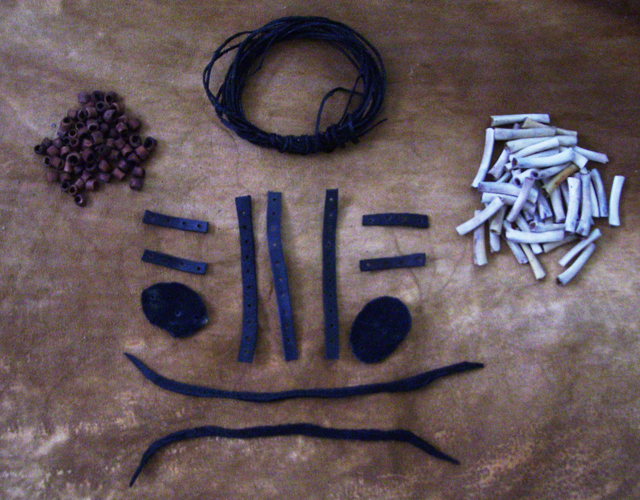
3). Here are all the components:
Bone components:
> 34 long (hairpipe)*
> 68 short (pony beads)*
4 lengths of (buckskin) cordage
5 lengths of (buckskin) cordage
3 long leather separators**
4 short separators**
2 leather/heavy cloth pads
2 leather thongs
*For this style of choker.
**For straight choker 7 short separators would be needed.
4). Thread strands through one of the short spacers and tie a loose knot at the end...
5). Next add first set of pony beads, then thread on long-bones...
6). Add closing set of pony beads...
7). and then close off with next short leather spacer...
8). Continue this sequence through the lenght of the necklace strands. At the opposite end be sure to tie a loose knot so you do not loose your bone pieces.
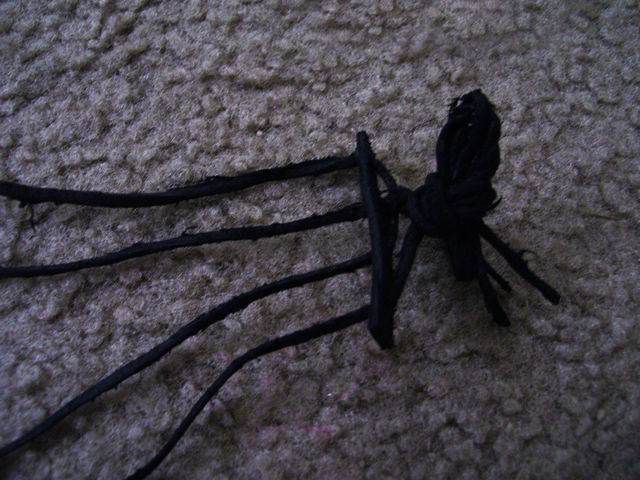
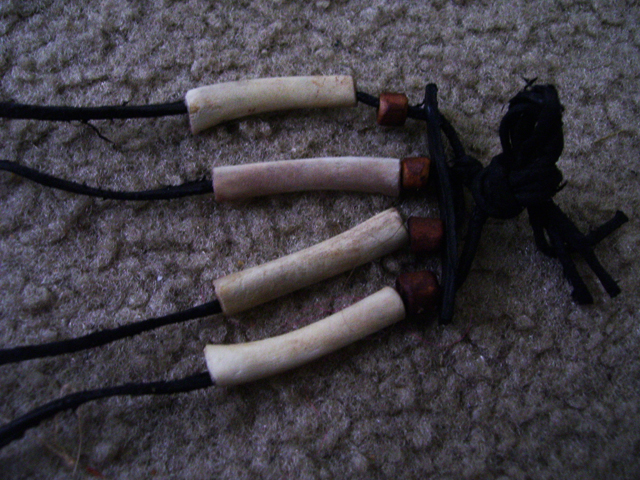
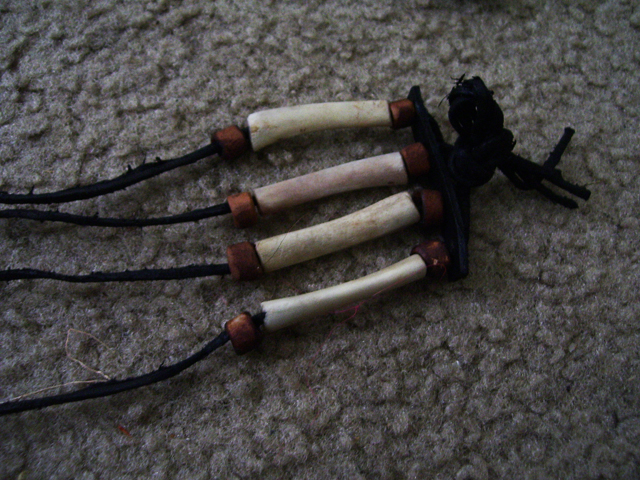
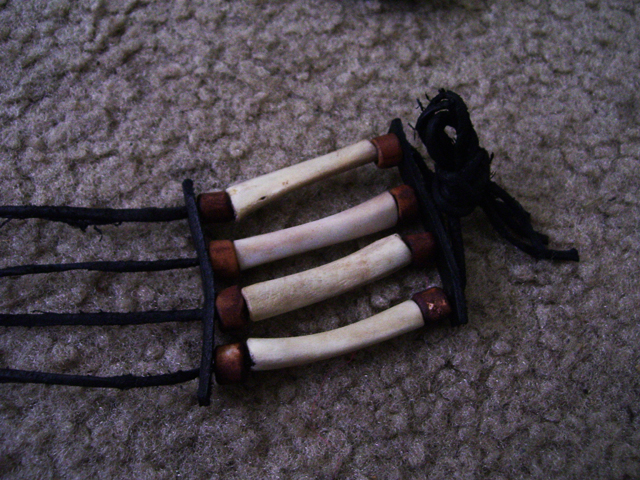
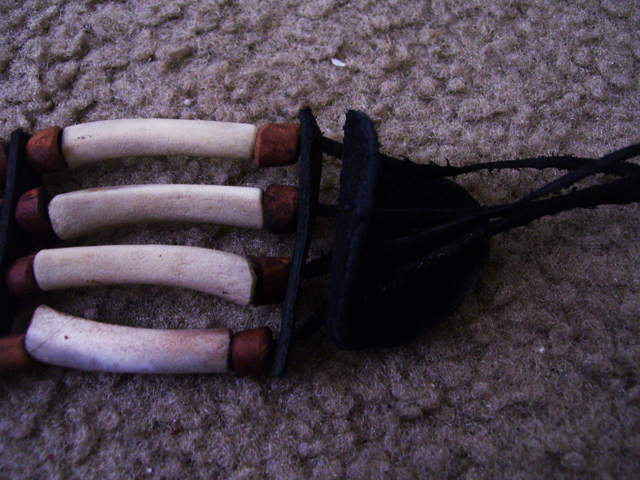
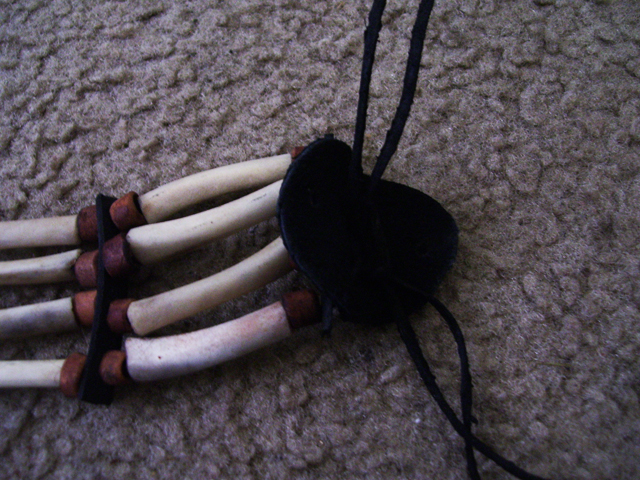
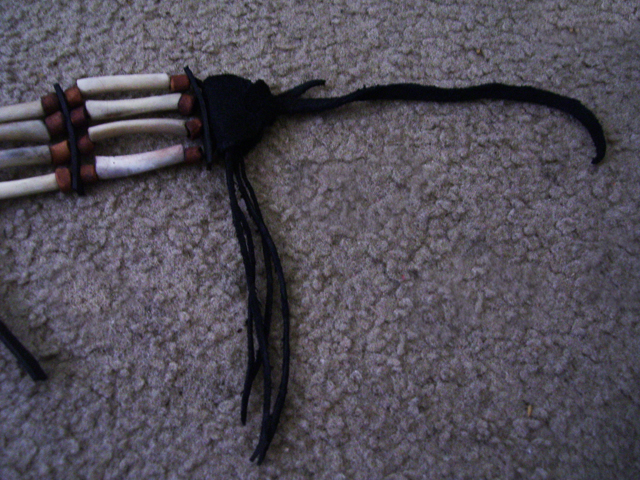
9). Next punch holes down the center of the leather pads thread strands through them...
10). Tie off strands in a knot then snip close to knot for a clean look...
11). or let dangle down. Next, fold the leather in half and punch a hole Thread leather thong through and
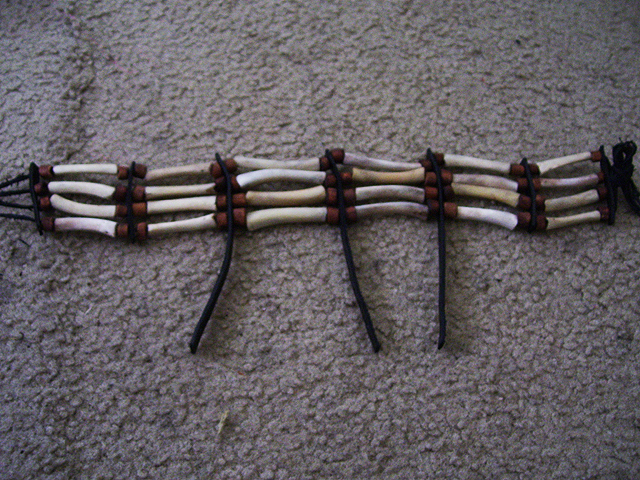
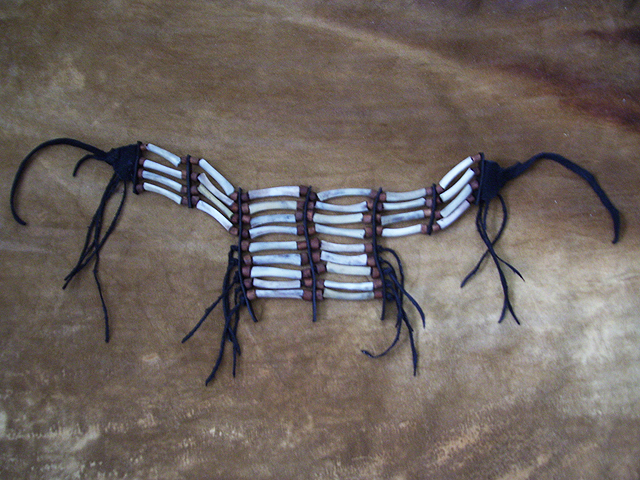
12). Here is the finished piece. I added 3 extended leather spacers for design embellishment...
13). Hopefully, you get the just and can come up with you own version or style of this Native American style of adornment.
top↟
