How to: Create Primitive Pottery
Share
Videos
Here is a basic tutorial on how to primitively process harvested clay and fire it for use without special tools or a kiln.
Clay is one of the most abundant natural resources to be found and used in a survival/wilderness-living situation. Properly prepared clay can produce most any shape or form the mind can imagine. Once it is successfully fired it becomes the most useful, easily made tools to be had; it becomes both waterproof � able to hold water for drinking, storage of food and other items, and fireproof able to boil water for purification or cooking.
Early humans may have been bags from animal skins long ago. By around 26,000 years ago, they were weaving plant fibers to make cordage and perhaps baskets. The oldest know pottery from Japan�s Jomon culture is about 18,000 years old[1]
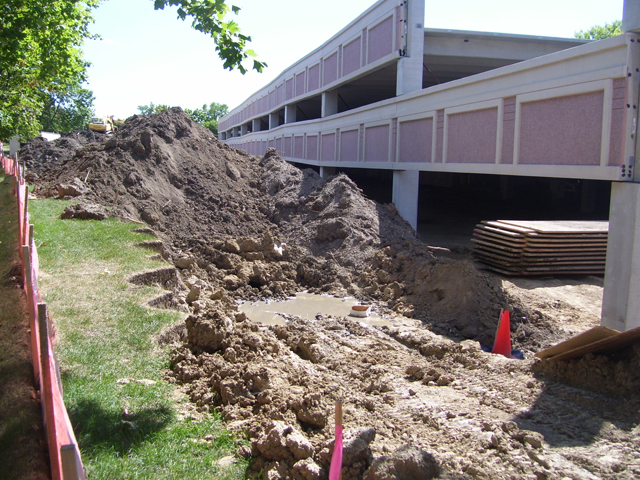
Clay can be found a few inches to a few feet beneath our feet, shorelines of creeks, river, ponds, and lakes, and road cuts. It is most easily procured, with permission, from construction sites.
Special appreciation goes out to Eddie Starnater and Julie Martin of PracticalPrimitive.com.
Citation:
1). � Copyright Smithsonian Institution. Smithsonian National Museum of Natural History, What Does it Mean to be Human? Human Evolution Timeline Interactive Application >>
http://humanorigins.si.edu/evidence/human-evolution-timeline-interactive
Instructions
1). Clay can be found a few inches to a few feet beneath our feet, shorelines of creeks, river, ponds, and lakes, road cuts, and most easily procured, the permission, from construction sites. All you need is a shovel or digging stick to get to it.
2).
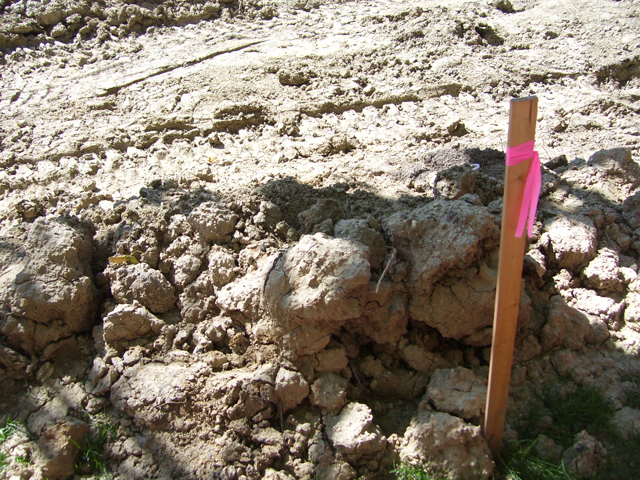
Here is some clay that has been dug up at a recent construction project. Notice how it clumps and sticks together.
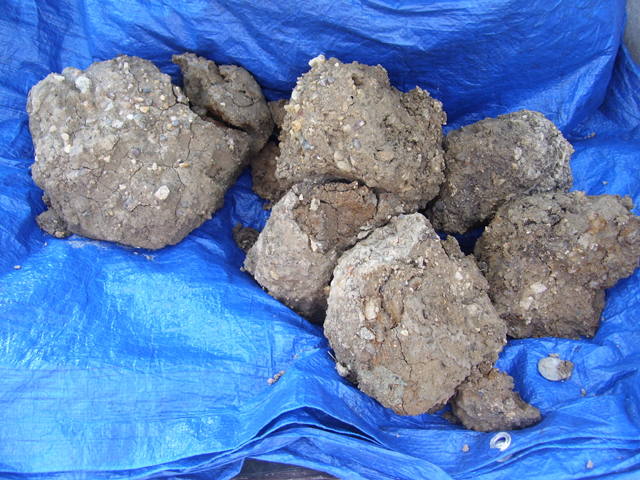
3). Here I collected a few clumps from that construction site. Nodes and cobble of raw natural clay can be very heavy.
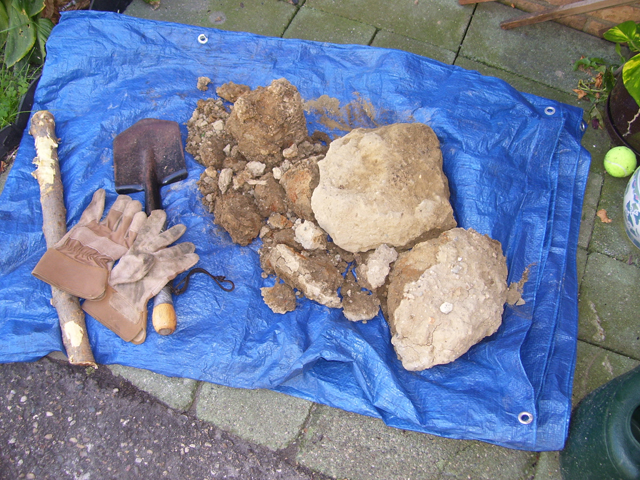
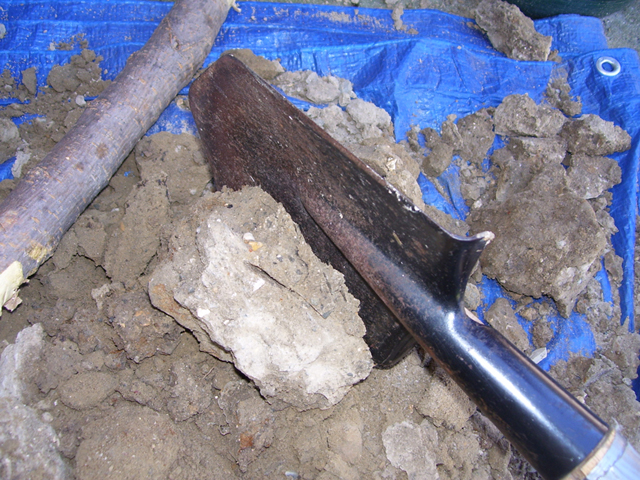
4). Here are the tools you may need to start to process the clay – the clay in this tutorial is pretty dry so it needs to be broken down to be cleaned of roots, leaves, rocks, and other debris. You will need a shovel or heavy stick; gloves are nice to protect your hands, a tarp to keep your work area clean.
5). First I start to break up the large dry clumps with my shovel....
6). Then I pound the smaller clumps with a large stick functioning as a mallet
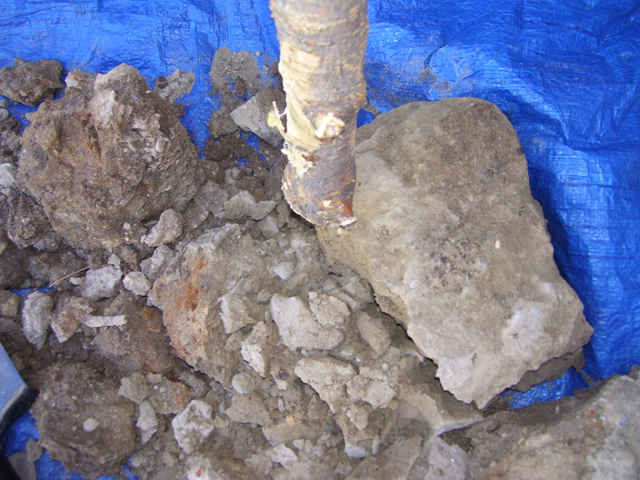
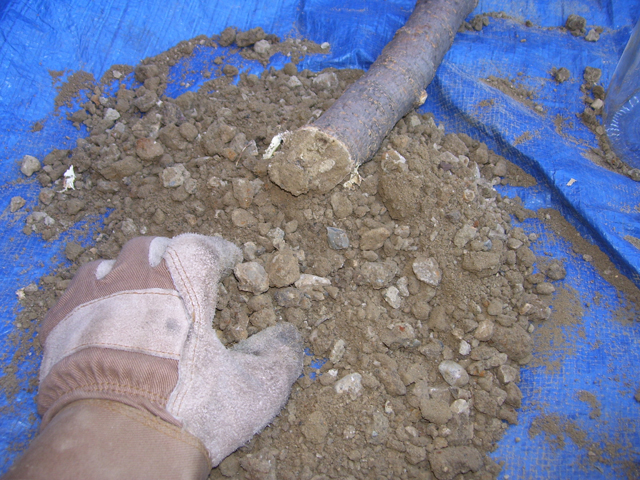
7). Next I break up the smaller chunks by hand. Clay is very light compared to rocks, pebbles, and sand...it is much finer.
Native peoples of the American Southwest would break up and then winnow the clay dust from the debris using a blanket and the wind. Standing with their back to the wind the potter would toss up the raw clay and debris repeatedly using a winnowing basket, since the clay is finer and thus lighter the clay would be blown onto a facing blanket and the sand and pebbles would fall to the ground... The potter would then collect the clay dust for further processing from the blanket.
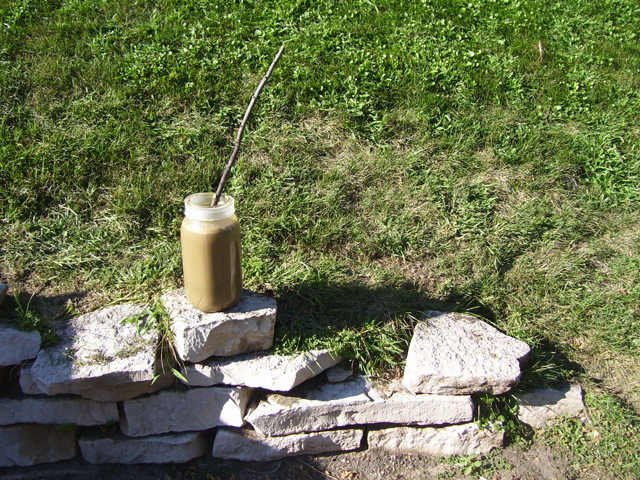
8). The other method of separating the clay uses water. Place the raw clay in a clear jar with water. Help it to dissolve by shaking the jar or stirring with a stick. Once the water settles in a few hours the clay, debris, and water will separate; since clay is finer and lighter the jar will have the somewhat clear water on the top, a clay layer, and sand and other debris settled on the bottom.
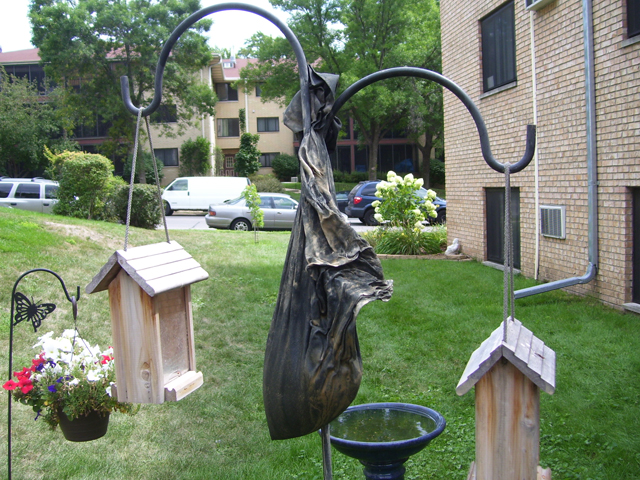
9). Using a fine-mesh fabric – here I am using a pillow case, carefully pour the water and clay layer in to it. Be careful to not let too much sand pour out with the clay. You can then fill the jar with water again and swirl a second or third time to extract more clay from the sediment before discarding.
The object is to pour out the raw clay to strain it from the water. Hang the pillow case with the water and clay and allow to strain. On a hot sunny day this takes a few hours to over-night.
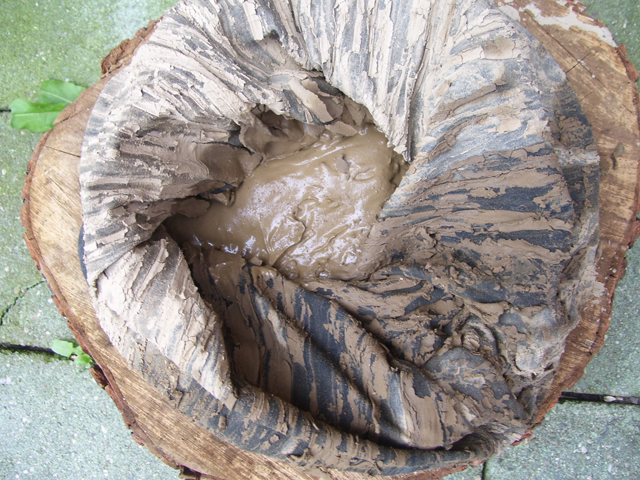
10). Here is what the wet muddy clay looks like after a day of hanging...
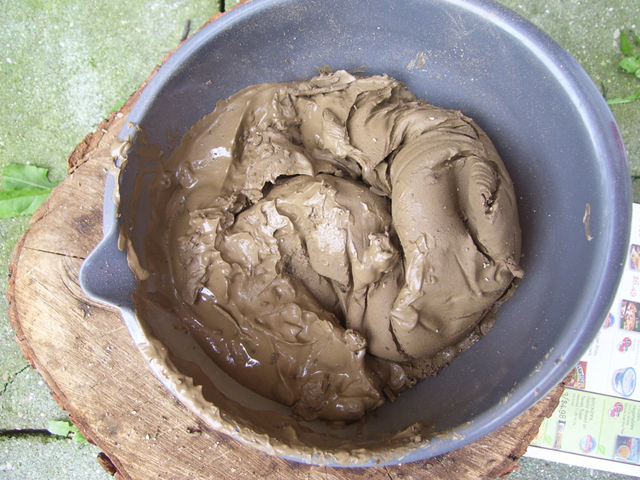
11). Here is what it looks like after pouring it onto a bowl or card board and letting it set a few hours to further allow the water and moisture evaporate.
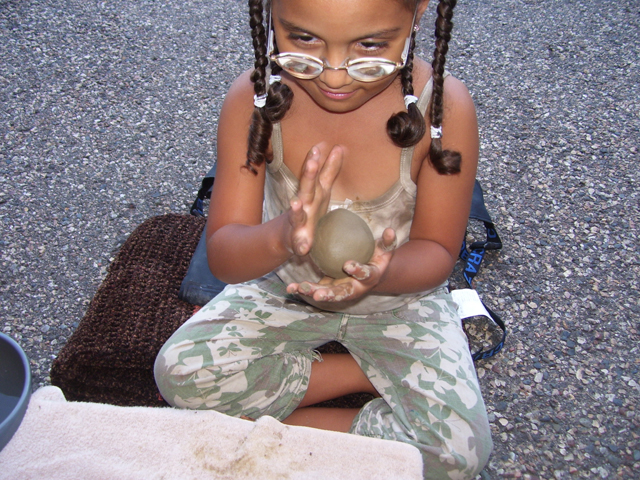
12). Once the clay firms up a bit you can then press it and shape it. You can further work it with your fingers to remove any debris that might have been missed. If the clay breaks too easily when trying to make a roll or snake add a little more water...if it is two wet and sticky let it sit a while longer or continue to work smaller amounts until moist and pliable.
This is a great activity for kids that teaches them about and helps them connect with the natural world!
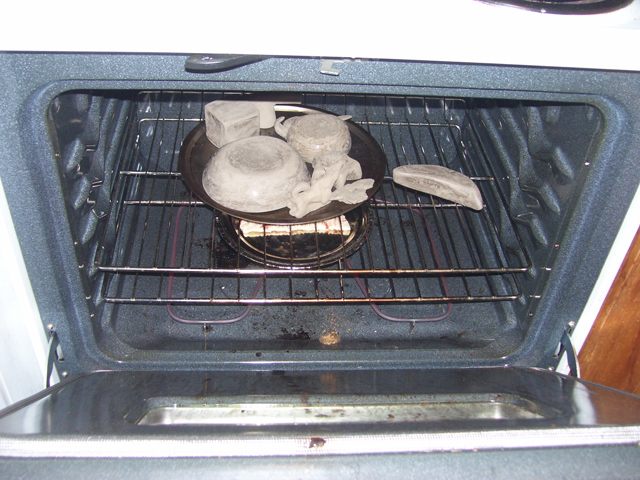
13). You can create any shape you want using the natural clay. The next step is to allow your clay projects to dry completely. This can take from a few days to a couple of weeks. Your project must be 100% dry before firing.
In a primitive situation you can place your projects around the parameter of a fire – but not too close to aid in the speed of drying. You can use an oven to help speed up drying...only do this after your projects have dried a day or two and at low temperature, about 200 degrees. Beware of cracking, as clay dries it shrinks and may be prone to cracking. Pinched round shapes hold up better in the firing process better than angled shapes.
Be sure to keep the walls of your project fairly thick. If they are too thin they can more easily crack. Surface cracks can be mended by applying what is called a slip – slurry of watery clay brushed on the surface to help smooth and mend blemishes.
14). Once completely dry it is important to burnish your piece using a smooth bone fragment, stone, or back of metal spoon. This compresses the layers and plates of the clay and helps prepare it for firing.
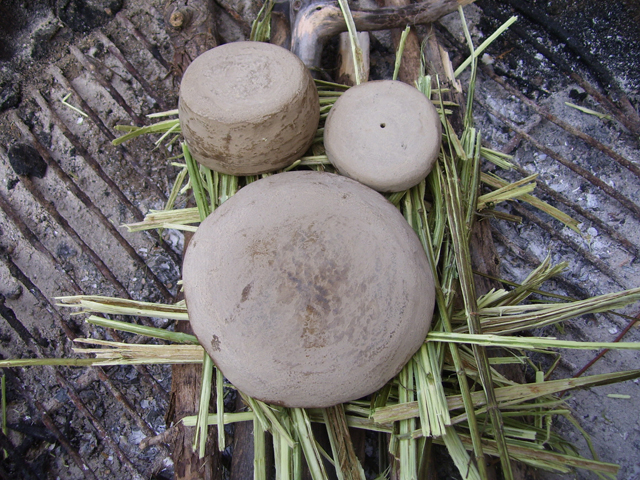
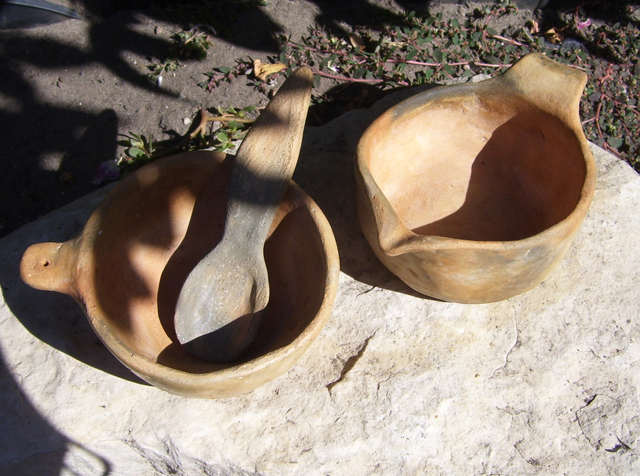
During the burnishing process you can add a little bit of lard or tallow to the surface and burnish that in...this creates a lustrous finish and helps water-seal your bowl, cup, or plate. Here I created a small bowl with a finger handle that has been burnished with lard and a small smooth stone.
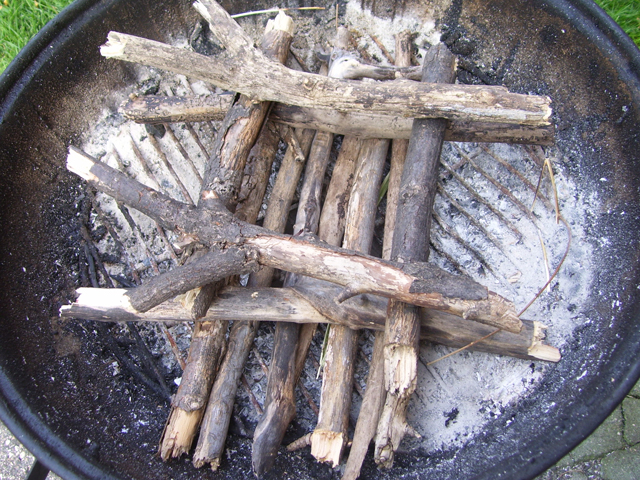
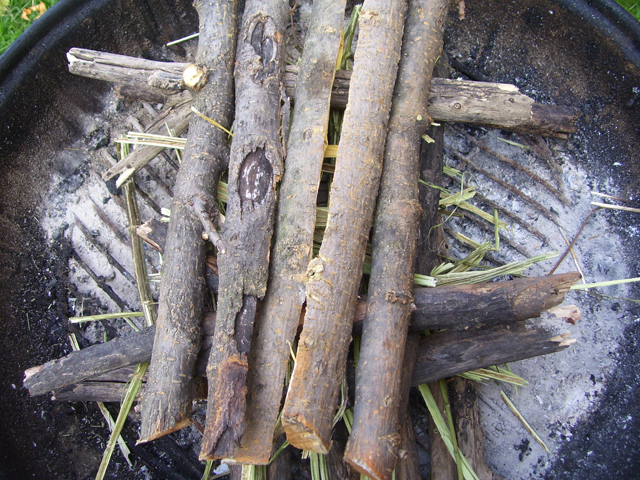
15). Now it is time to fire. In a primitive situation a camp fire is normally how this is done. But a fire-pit or grill will work just fine. Using the grill and the space allotted stack your fuel Lincoln-log style using various sticks...hardwood would be best because it burns the hottest, the longest.
16).
Here I have added some discarded nettle stems after extracting the fibers for extra fuel – and maybe to add some color. Place your pieces in the center of your "log-cabin"...
17).
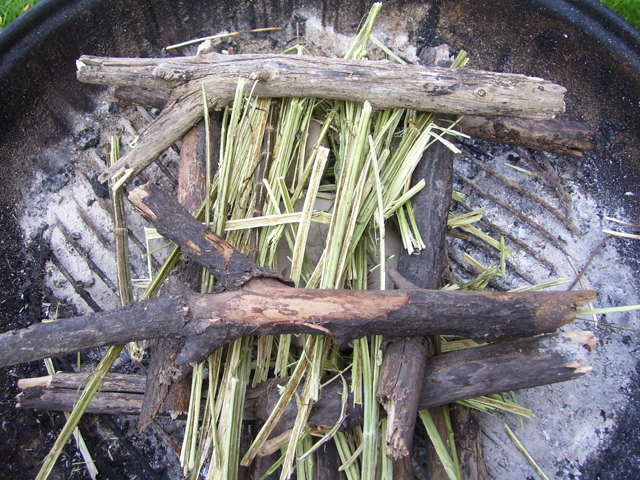
Continue to stack your fuel on top and around your pieces...
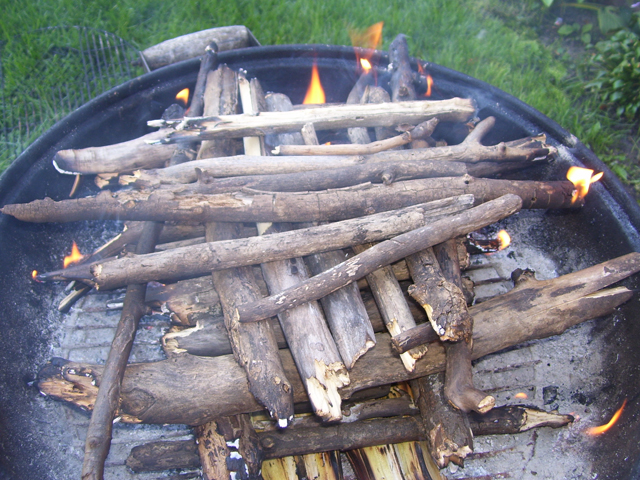
18).
It is okay to cover your pieces as long as they are not bearing too much or the brunt of your fuel weight.
19).
Light you "Lincoln-log" pyre!
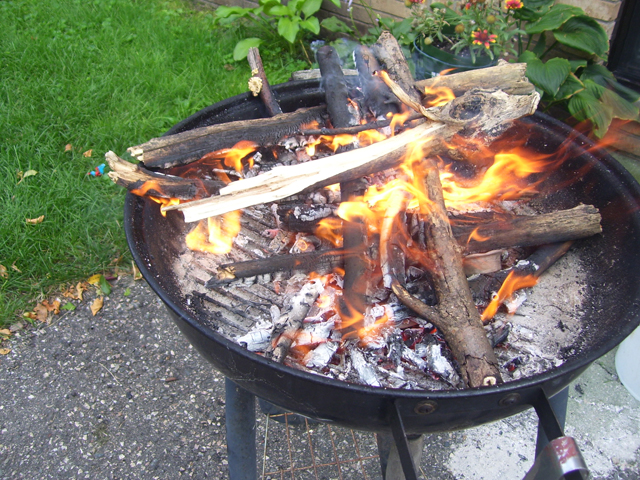
20).
In this instance with so few and small pieces I opted to try and keep the fire going by adding fuel for about an hour.
21). After about an hour or so, let the fuel burn down to ash....
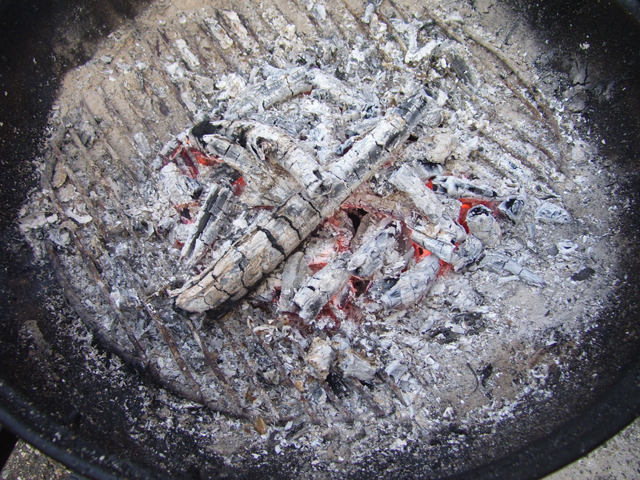
22). Allow the fuel to continue to burn completely down. Until it is ash. Do not remove your projects until they are completely cool to the touch.
Tap your pieces with your finger tip...there should be a familiar ceramic "Ting! Ting!" sound...
23). Voila! You have finished primitively prepared and fired pottery pieces ready for use!
top↟