How to: Make Primitive Arrows
Share
Video
In this tutorial I will walk through how to make arrows from a rough sapling or twig, to a nice straight dart ready for hunting.
Recommended raw materials:
Dogwood
Cedar
Pine
Willow
Ash
Cherry
Maple
Properties in raw materials:
lightweight, tough yet resilient, and most importantly, straight.
Best time to harvest is in late Fall and throughout Winter.
Instructions
1). Harvest & Cure
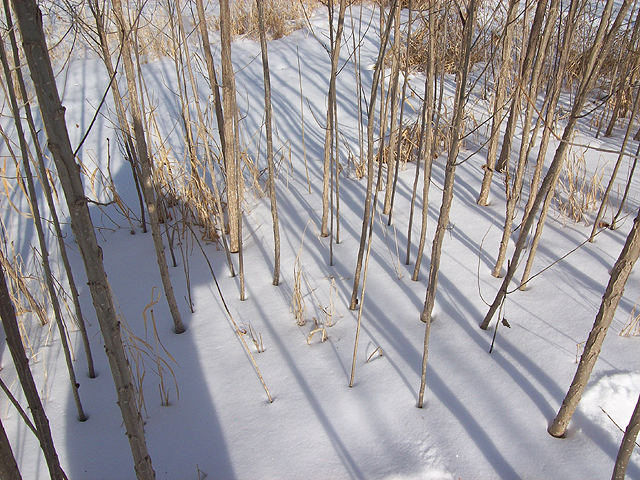
Generally the best time to harvest is late Fall or during the Winter when the sap is down. Harvesting at this time reduces splitting and warping of your shafts. There are many differnet types of plants that would be suitable for making arrows. The idea is to look for groves or colonies of a plant that you can harvest stock about a pinky-width in diameter, little to know knots, and grows in a slow taper.
After harvesting if you are not going to create your arrows right away, bundle 12-15 shafts together, thicker ends to thinner ends, hang and let the moisture evaporate out for a minimum of about a week...some species of raw stock must have the bark removed in order to cure properly.
The curing step is useful but not necessary in an emergency survival situation...you can make perfectly servicable arrows from "green" stock.
2). Scrape Off Bark
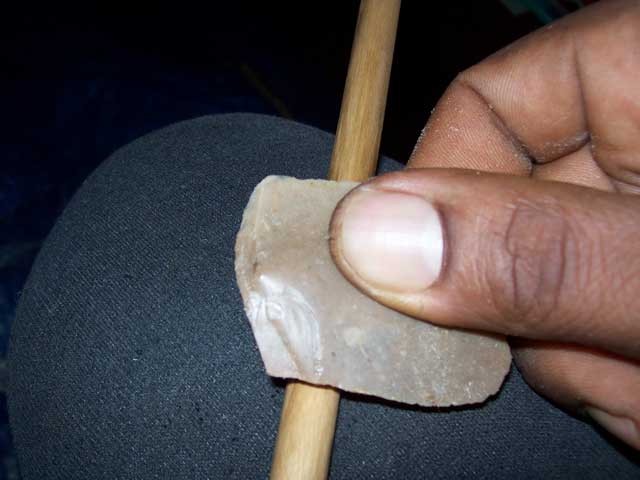
Strip off bark using a sharp object, here is a piece of chert; a flake from flint knapping...abrade or rub off the bark by shaving your sharp edge perpendicular to the shaft surface...
3). Keep Recycling in Mind
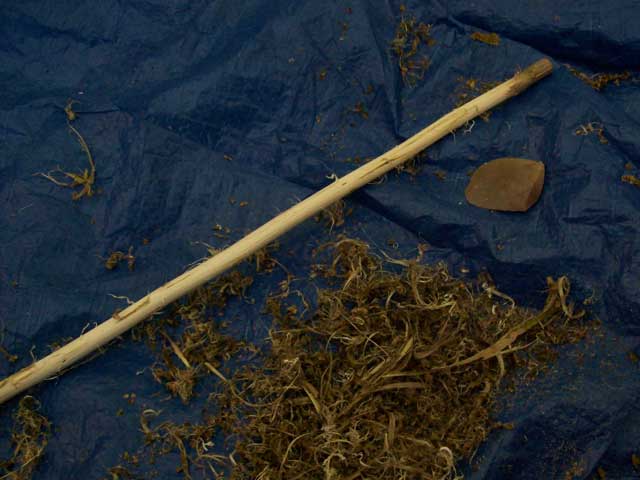
shavings make good tinder bundles for fire making or stuffing in other types of projects...
4). Begin Straightening Process
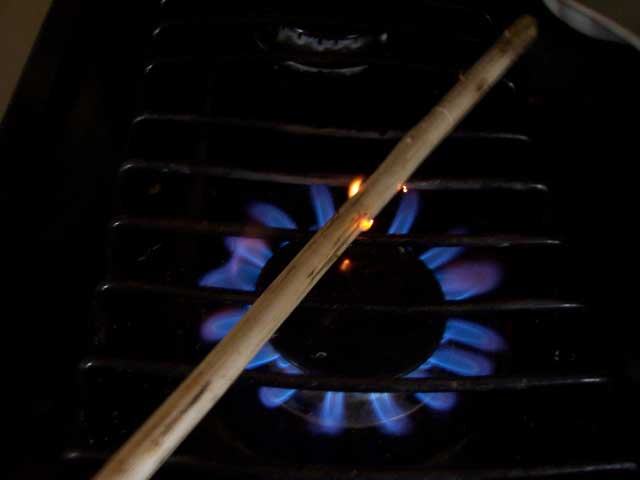
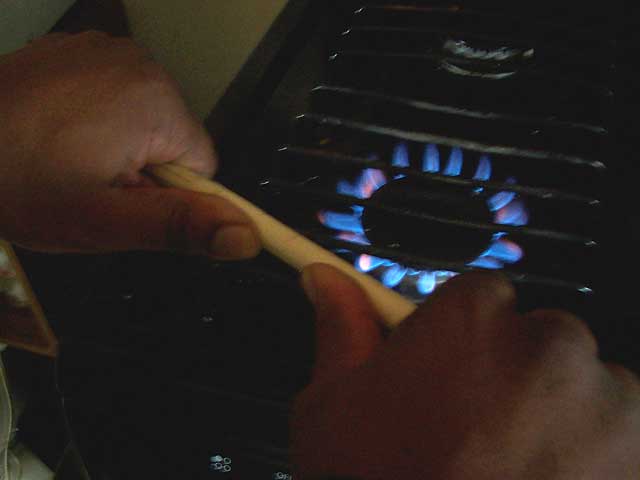
Next you will use heat to clean off shaft. Here I am using a gas stove. However a campfire or hot coals will work as well. Many people use oil or water to rub on te shaft to avoid scorching the shaft, as well in aiding preservation/sealing of the wood and keeping the shaft supple.
I find I am able to get a shaft functionally straight with out using a lubricant..when using heat;
Be careful! DO NOT BURN YOURSELF!
5). ...Use your fingers to straighten the warm shaft until cool, repeat as necessary...
be careful! Be careful! DO NOT BURN YOURSELF!
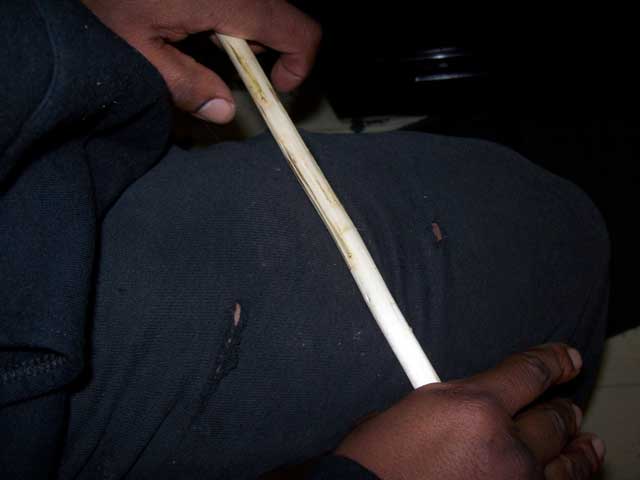
6). ...rolling the warm shaft on your knee helps get out large bends...
Be careful! DO NOT BURN YOURSELF!
7). Sand to Aid in Shaping & Straightening
For me part of the straightening process is sanding or shaping the shaft. Many times, although you can find straight stock with little taper, one end (the root end) will be larger than the front.
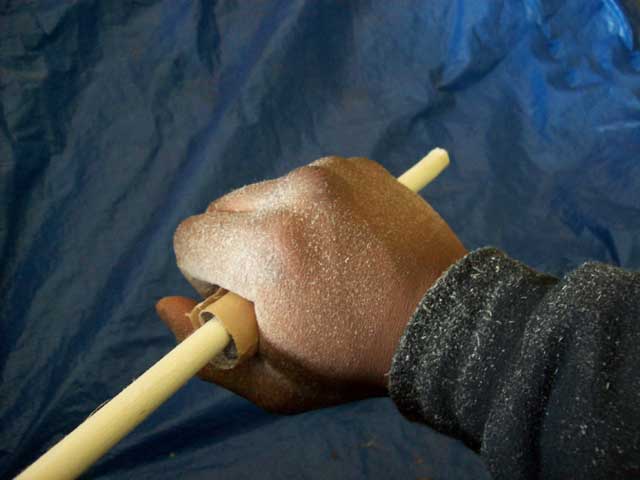
So I use a low rough grit sand paper and concentrate on the larger end, sanding until I get that in to about the same size as the front. So the process tends to be heat straighten...sand...heat straighten...sand...so on and so forth until I get the shaft the shape as uniform and as straight as possible.
Many times the friction from sanding creats enough heat to aid in the straightening process. When you do not have sandpaper, a rough rock or sandstone works as
well.......
Be sure to wear breathing and eye protection from the saw dust. Also, working outside or a well ventilated area is a safe practice too.
8). Cut, Abrade, or Break out Nocks
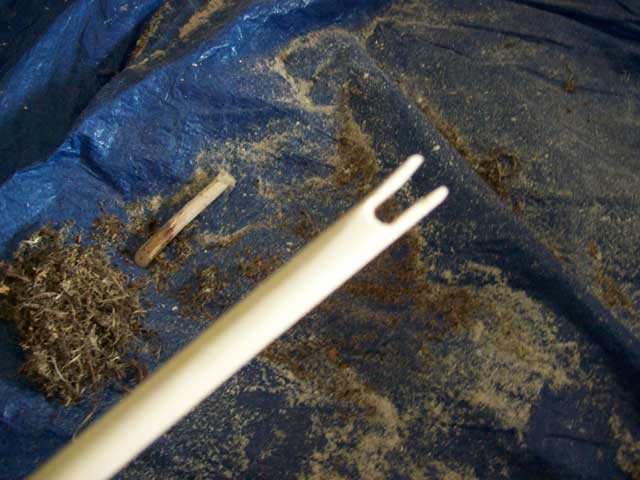
Once I have the shaft as much like a store-bought dowel as possible, break out your nocks. The head of the shaft should be deeper than the fletching end...
top↟
